Firstly you have to understand how to get a Vertorama. Without clear vision of the technology of the creation your chances to create a good one are extremely low.
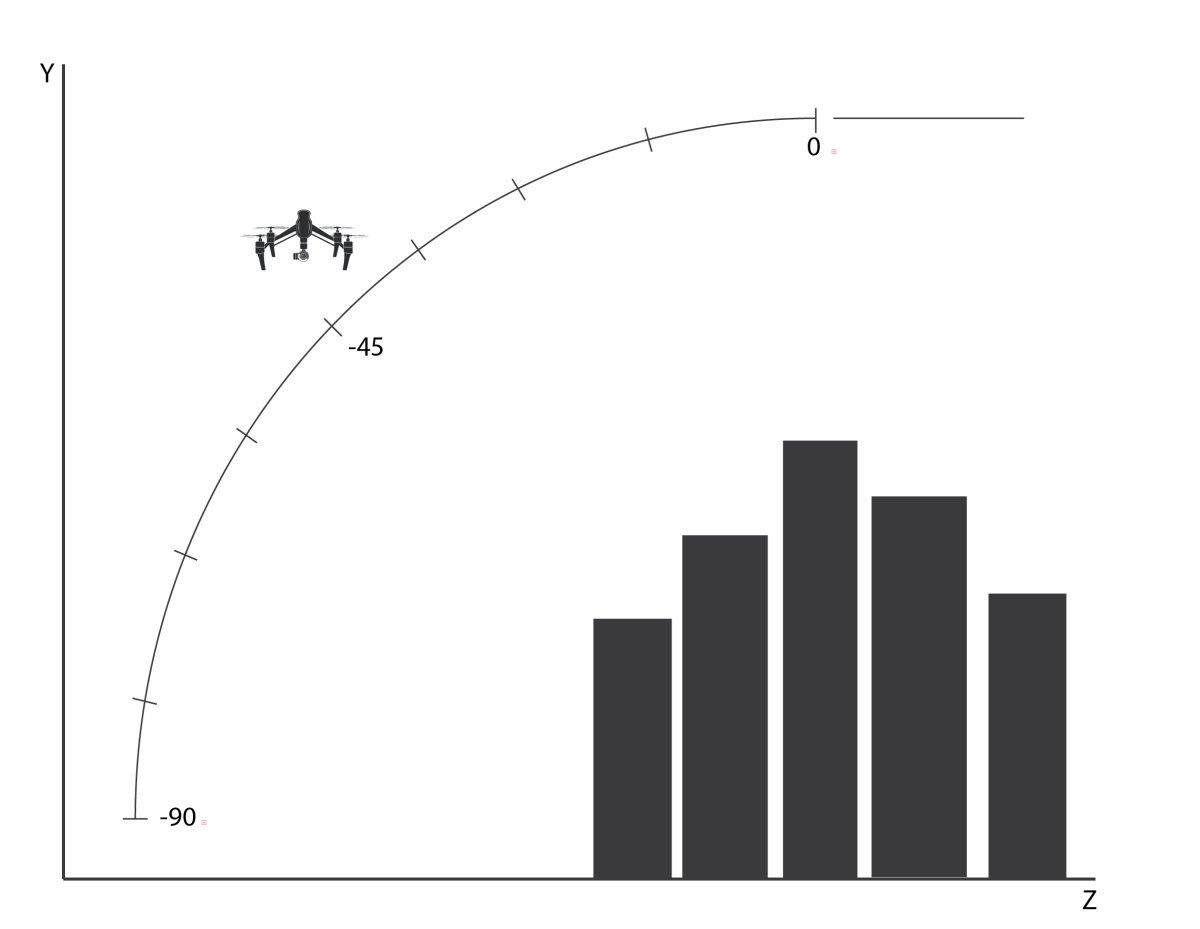
Full composition consists of several photos (about 8-12 pcs), which were made of different angles of camera, besides on different distance and on different altitudes. You should imagine the final picture and understand where the curve will be (a place where vertorama gets bended). Revise attentively the scheme below and keep in mind that it depends on the scene what the distance is and angles you have to choose.
Preparation
Before the flight fix the camera exposition of to avoid difficulties while stitching in the future. Set up camera as it would common shoot. Surely, you can use AEB (several shots with different exposition in a time) - it will give you more opportunities while editing photos.
Shooting
Make your first shots on a low altitude, then increase it and at the same time go forward a bit with a drone. Making each next shot change the angle of the camera properly. Don't go mad with forwarding, do it merely. Preliminarily, think (or it'd better if you will put it down), how many shots you wanna make and distribute value of the changing of the camera angle among this shots. For example, you decide to make 10 shots, camera turns from 0 (first photo) degrees to -90 degrees (last photo), consequently it gets: -90 / 10 = -9 degrees in each shot. This uniformity will help you stitch up the shots simplier and you will get more accurate result.
Stitching
I will tell you how to stitch up in Adobe Photoshop, but certainly you can use any other software as well. Important issue: it's necessarily to know what are transparency masks. The matter is, that photos will be overlayed per line and you will have to edit masks for to refer which details of which photo will be shown. Besides, photos have to be edited preliminarily for to look better and for to have less distortion. If you use Adobe Lightroom , you can edit one photo and then copy settings of the photo ino the others. For to do that you should select the photo with ready settings, press CTRL+SHIFT+C (for Mac CMD+SHIFT+C), then select other photos and press CTRL+SHIFT+V (for Mac CMD+SHIFT+V). Wait a moment while applying. Make export photos, for example in a jpg format.
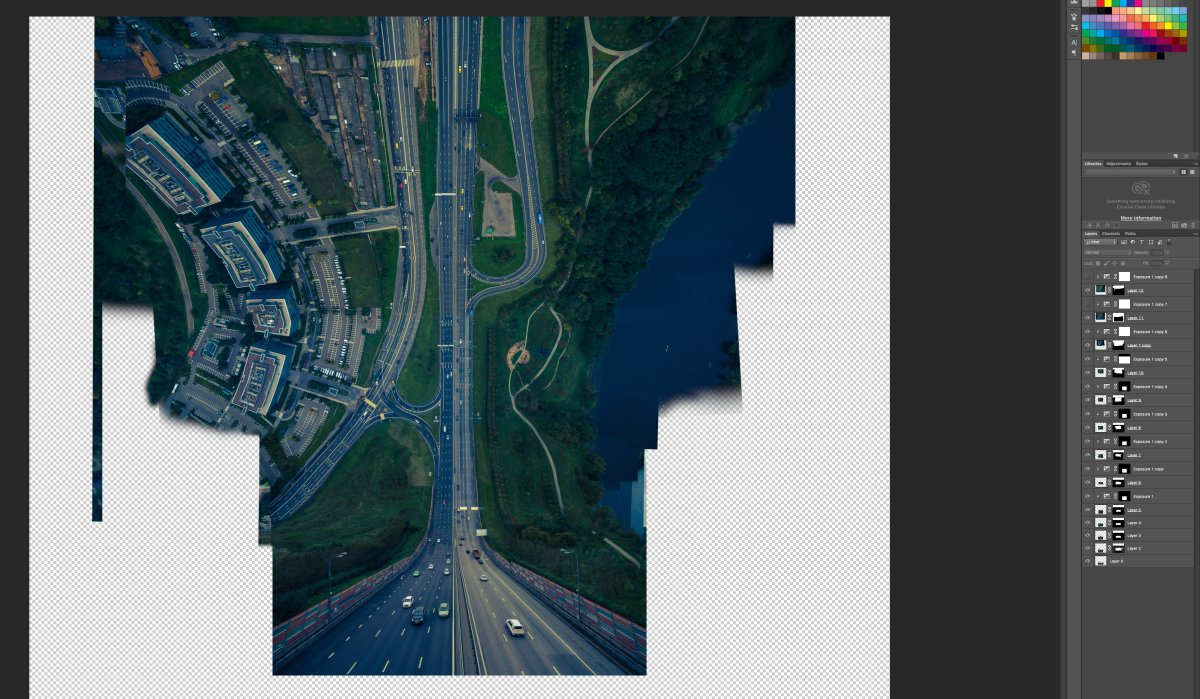
Let's roll. In the Adobe Photoshop create a new document quite big (one and a half size in width of the photo you will use and thrice higher (something approximately 6000x9000), later you could edit the size or crop it. This is the main canvas in which we will assemble our vertorama.
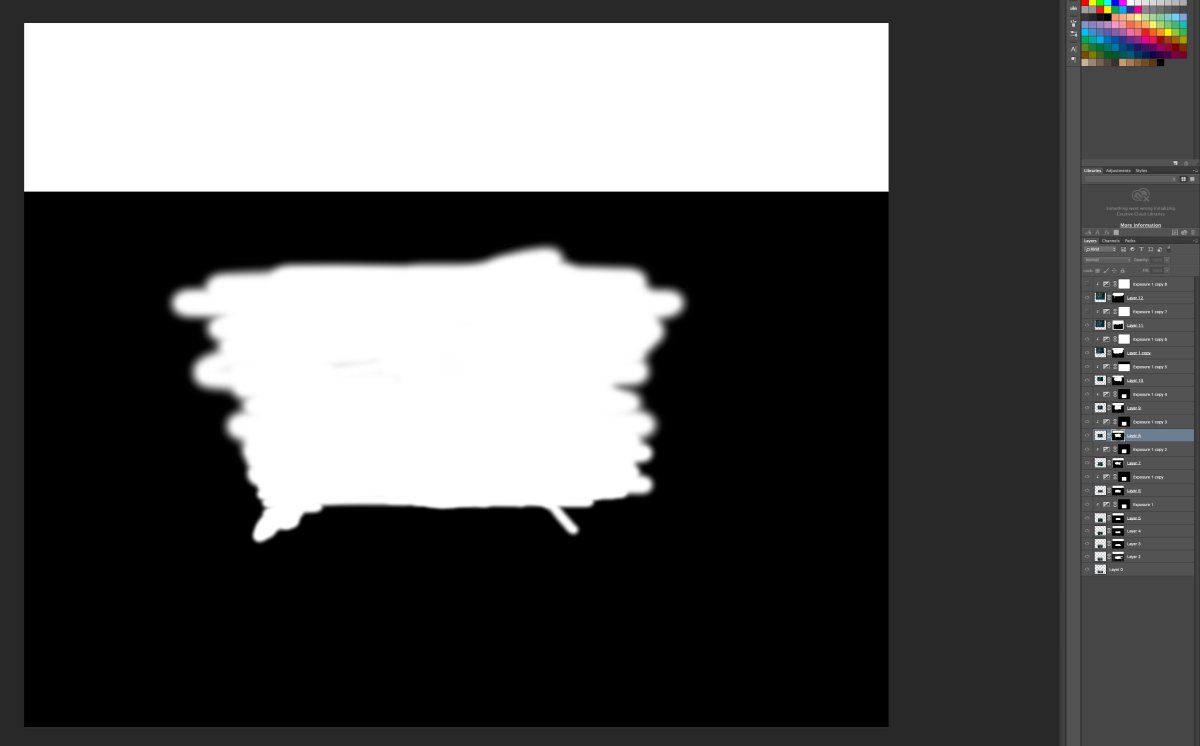
Open up your first photo, select whole the image, copy that into the buffer and paste it as a layer into the canvas. Open up the next photo, layer it above the first layer, scale it for to match by size and you should create a mask for the new layer. Fill the mask with black color (for to underlay the second image) and using a brush with white color start to mark on the mask layer where the image shown will be . Repeat this for the others photos up to the good result and the vertorama is ready!
Scheme of flight
1.Scheme of flight

Aperture:2.8
Shutter Speed:1/1000
ISO:100
Type:DJI
Scheme of flight
Assembling in Photoshop
2.Assembling in Photoshop

Aperture:2.8
Shutter Speed:1/1000
ISO:100
Type:DJI
Assembling in Photoshop
Using Mask for a layer
3.Using Mask for a layer

Aperture:2.8
Shutter Speed:1/1000
ISO:100
Type:DJI
Using Mask for a layer
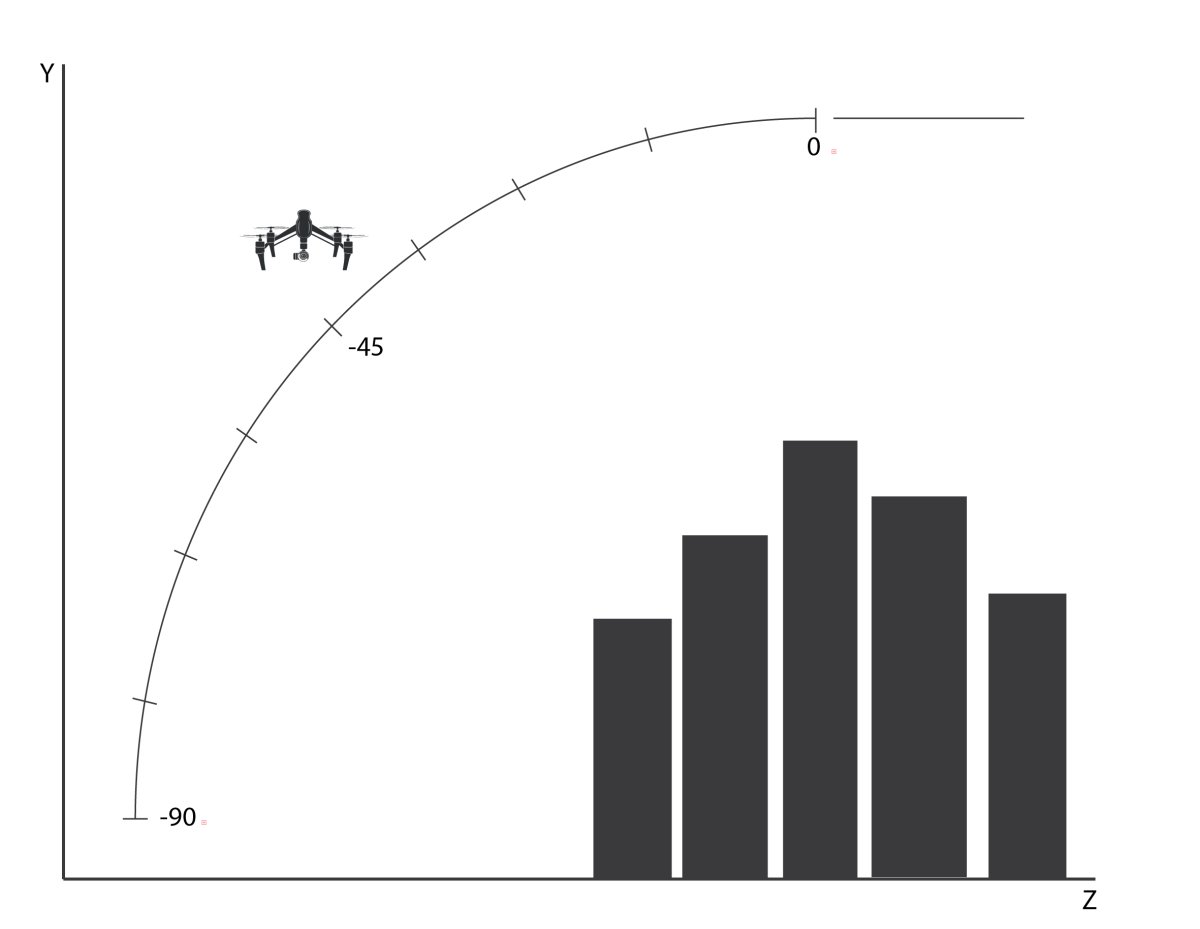
Scheme of flight
4.Scheme of flight

Aperture:2.8
Shutter Speed:1/1000
ISO:100
Type:DJI
Scheme of flight
Loading...